You reinforced a OTR rim with extra steel to make it invincible. It seemed logical—stronger is better. But a few months later, it cracks again, this time in a completely new spot right next to your repair.
Excessive stiffness1 prevents a rim from flexing to distribute stress. Instead, it creates a rigid wall that deflects the entire load into the nearest weaker, more flexible area. This concentration of force at the edge of the stiff zone is what causes unexpected failures.
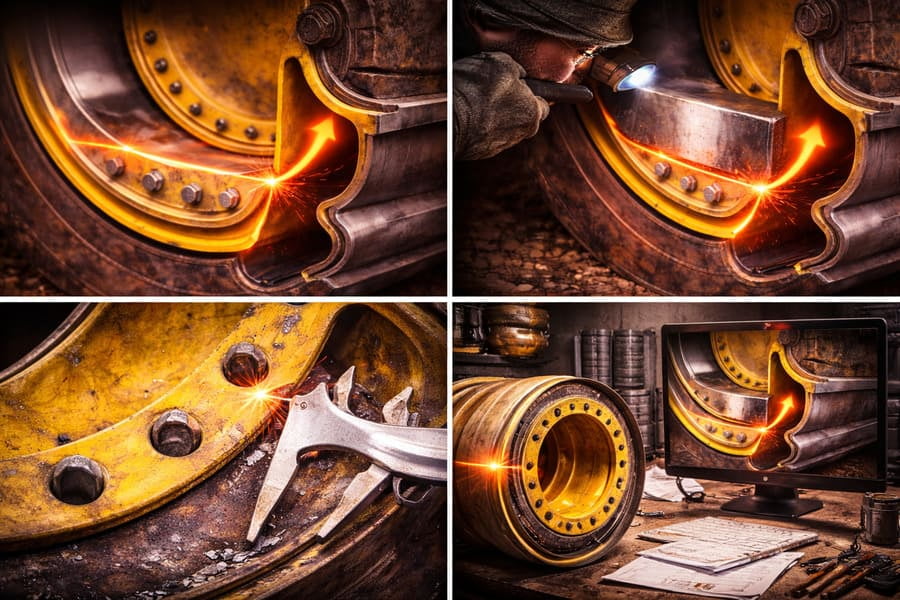
I remember a mining client who was frustrated with cracks near the disc on their loader rims. They decided to weld massive, thick reinforcement plates2 over the area. They were proud of the fix; it looked indestructible. But six months later, they called me. The rims were cracking again, but this time, the cracks were forming in the rim base, just millimeters away from the edge of their thick new plates. They had made one part so strong that it couldn't share the load, so it just passed all the stress down the line to a section that was never meant to handle it alone. They had solved one problem by creating a bigger one.
How Can Making a OTR Rim "Stronger" Actually Make It Weaker?
You've identified a weak point and welded on a thick steel plate to reinforce it. You stand back, confident you've solved the problem, but the rim fails even faster than before.
By making one area excessively rigid, you block the natural path for stress. The force, unable to be absorbed, concentrates intensely at the edge of your reinforcement, overloading the adjacent material and causing it to crack under loads it could previously handle.
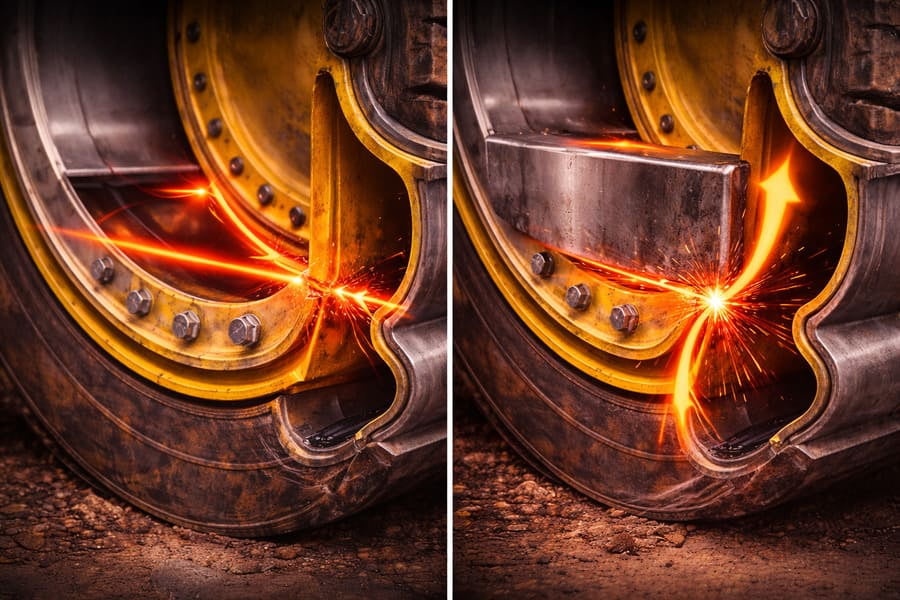
Think of stress as water flowing through a flexible hose. The hose bends and absorbs the pressure. Now, imagine you replace a small section of that hose with a solid, rigid steel pipe. The water hits the end of that rigid pipe and creates immense pressure right at the connection point to the flexible hose. The hose fails at the joint, not because the hose was weak, but because the rigid pipe created a sudden, unmanageable transition. This is exactly what happens in a rim. The goal isn't to create an unbreakable wall of steel; it's to maintain a balanced level of flexibility so the entire structure can work together to manage the load. An overly stiff repair just tells the stress, "You can't come through here, go attack that spot over there instead."
Why Is a Smooth Transition More Important Than a Thicker Plate?
Your instinct is to fix a weak spot by adding more material. It's a simple, visible solution. But why does this often fail, while more subtle design changes succeed?
Stress flows like water; it hates sharp corners. A thick plate with a hard edge creates a dam, causing stress to build up. A smooth, tapered transition allows stress to flow gently and disperse over a wider area, preventing dangerous concentrations.
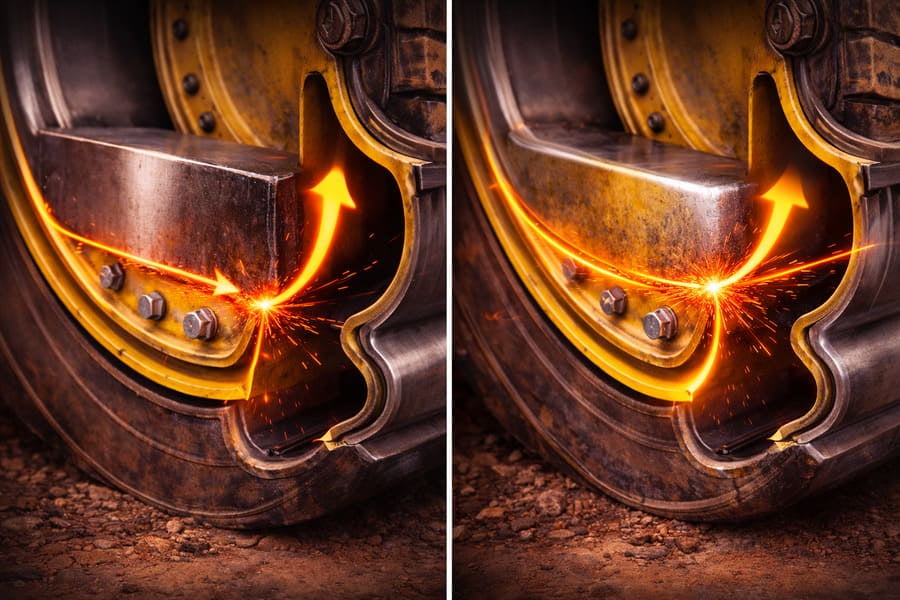
I always tell my clients to focus on continuity, not just thickness. Imagine a river. A sheer cliff wall will cause violent eddies and intense erosion at its base. A gently sloping riverbank, however, allows the water to flow past with minimal disruption. OTR Rim design should follow the same principle. Instead of just welding a thick, square plate on top, a much better solution is to use a tapered plate3 or to grind the weld smoothly into the parent material. This creates a gradual change in stiffness. This "structural continuity4" guides the force, telling it where to go and spreading it out. It's a more elegant and far more effective approach than just throwing more steel at the problem. A well-designed rim manages force; a poorly reinforced one just fights it, and usually loses.
Where Will Your Rim Most Likely Crack Next?
OTR Rim failures can seem random, making them hard to prevent. But if you know what to look for, the next failure point on your equipment is often predictable.
Cracks almost always initiate in transition zones5, where the rim’s stiffness changes abruptly. Look for the spot where a thick, rigid component meets a thinner, more flexible one. That's your highest-risk area.
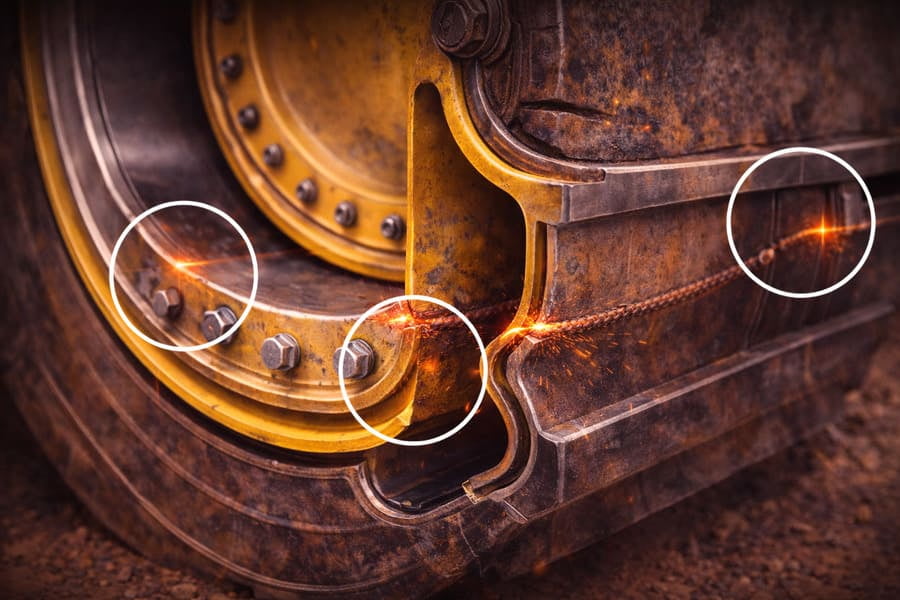
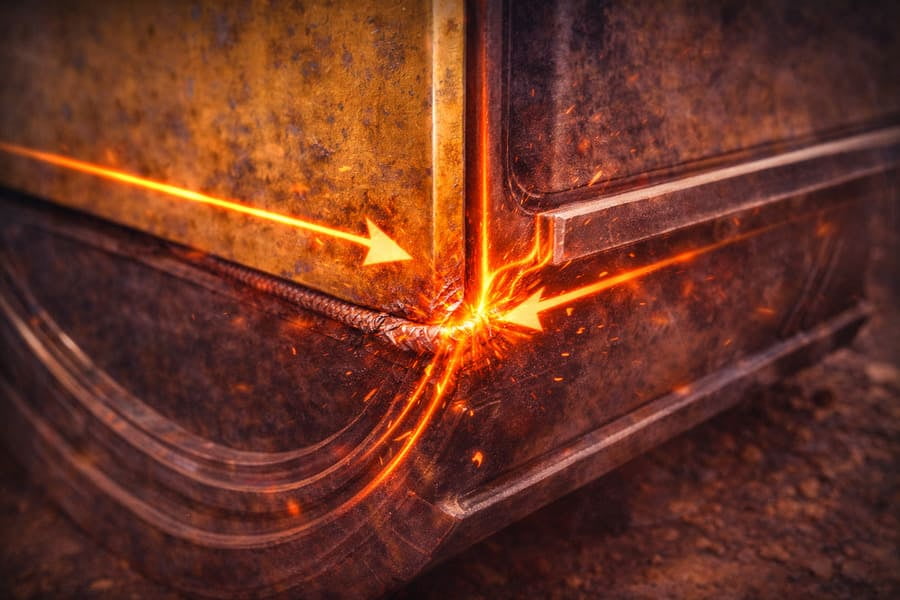
The most vulnerable parts of any rim are the intersections. These are the points where the structure's geometry and thickness naturally change. The number one spot I check is the weld connecting6 the disc to the rim base. Here, the thick, rigid disc joins the more open, flexible base—a massive change in stiffness. All the braking, cornering, and load forces7 get funneled through this small area. It's a recipe for stress concentration8. By knowing this, you can be proactive.
Common High-Risk Transition Zones
| Transition Zone | Why It's High-Risk | What to Look For |
|---|---|---|
| Disc-to-Base Weld | A very stiff disc meets the more flexible rim base. This is the busiest intersection for all forces. | Hairline cracks forming in the heat-affected zone of the weld. |
| Gutter Section | The curved gutter section joins the flat flange and base, creating a geometric stiffness change9. | Cracks starting in the tight corner radius of the gutter. |
| Lock Ring Groove | The machining of the groove creates a sharp corner, which acts as a natural stress riser. | Cracks initiating from the corner of the groove. |
When you inspect your rims, don't just look for existing cracks. Look for these transition zones5. This is where you can predict future failures and work with your supplier to choose a rim with a better-designed, smoother transition in that specific area.
Conclusion
Stop chasing strength through stiffness alone. The key to a durable OTR rim is balanced design with smooth transitions that allow stress to flow, not build up. This prevents hidden risks10.
Understanding excessive stiffness can help you avoid common pitfalls in engineering and design. ↩
Explore effective reinforcement techniques to enhance structural integrity without creating new failure points. ↩
Learn how tapered plates can improve load distribution and reduce stress concentrations. ↩
Discover how maintaining structural continuity can lead to more resilient designs and prevent failures. ↩
Understanding transition zones can help you identify potential failure points in your designs. ↩
Explore welding techniques that enhance strength and durability in critical areas of structures. ↩
Understanding load forces is crucial for designing structures that can withstand various stresses. ↩
Learn about stress concentration to better design structures that can withstand loads without failing. ↩
Learn about geometric stiffness changes to improve your design strategies and prevent failures. ↩
Explore hidden risks to enhance your design approach and ensure long-term durability. ↩